How to edit Product information

Theo Psallidas
Last Update 2 года назад
In this guide, we'll walk you through the process of editing the information of a product using Optehub. Let's dive right in!
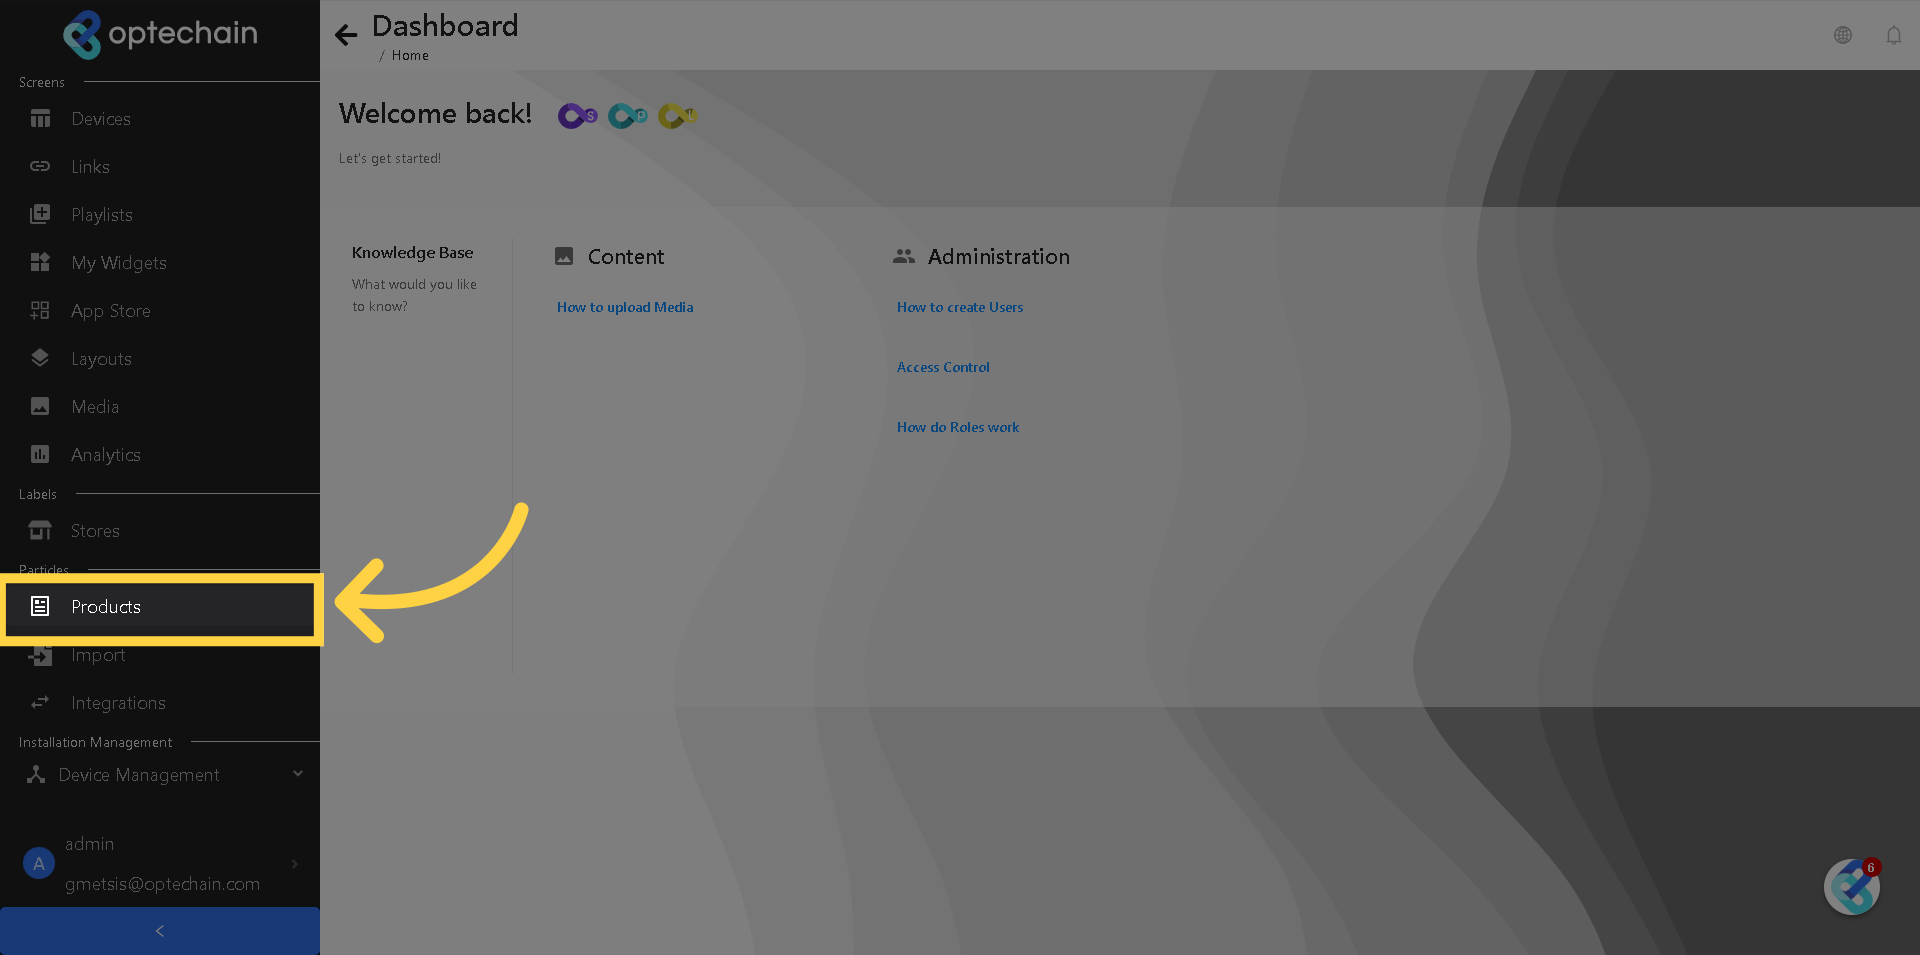
1. Select "Products"
Let's begin by moving to the "Products" section. You can find this on the sidebar located on the left side of your screen.
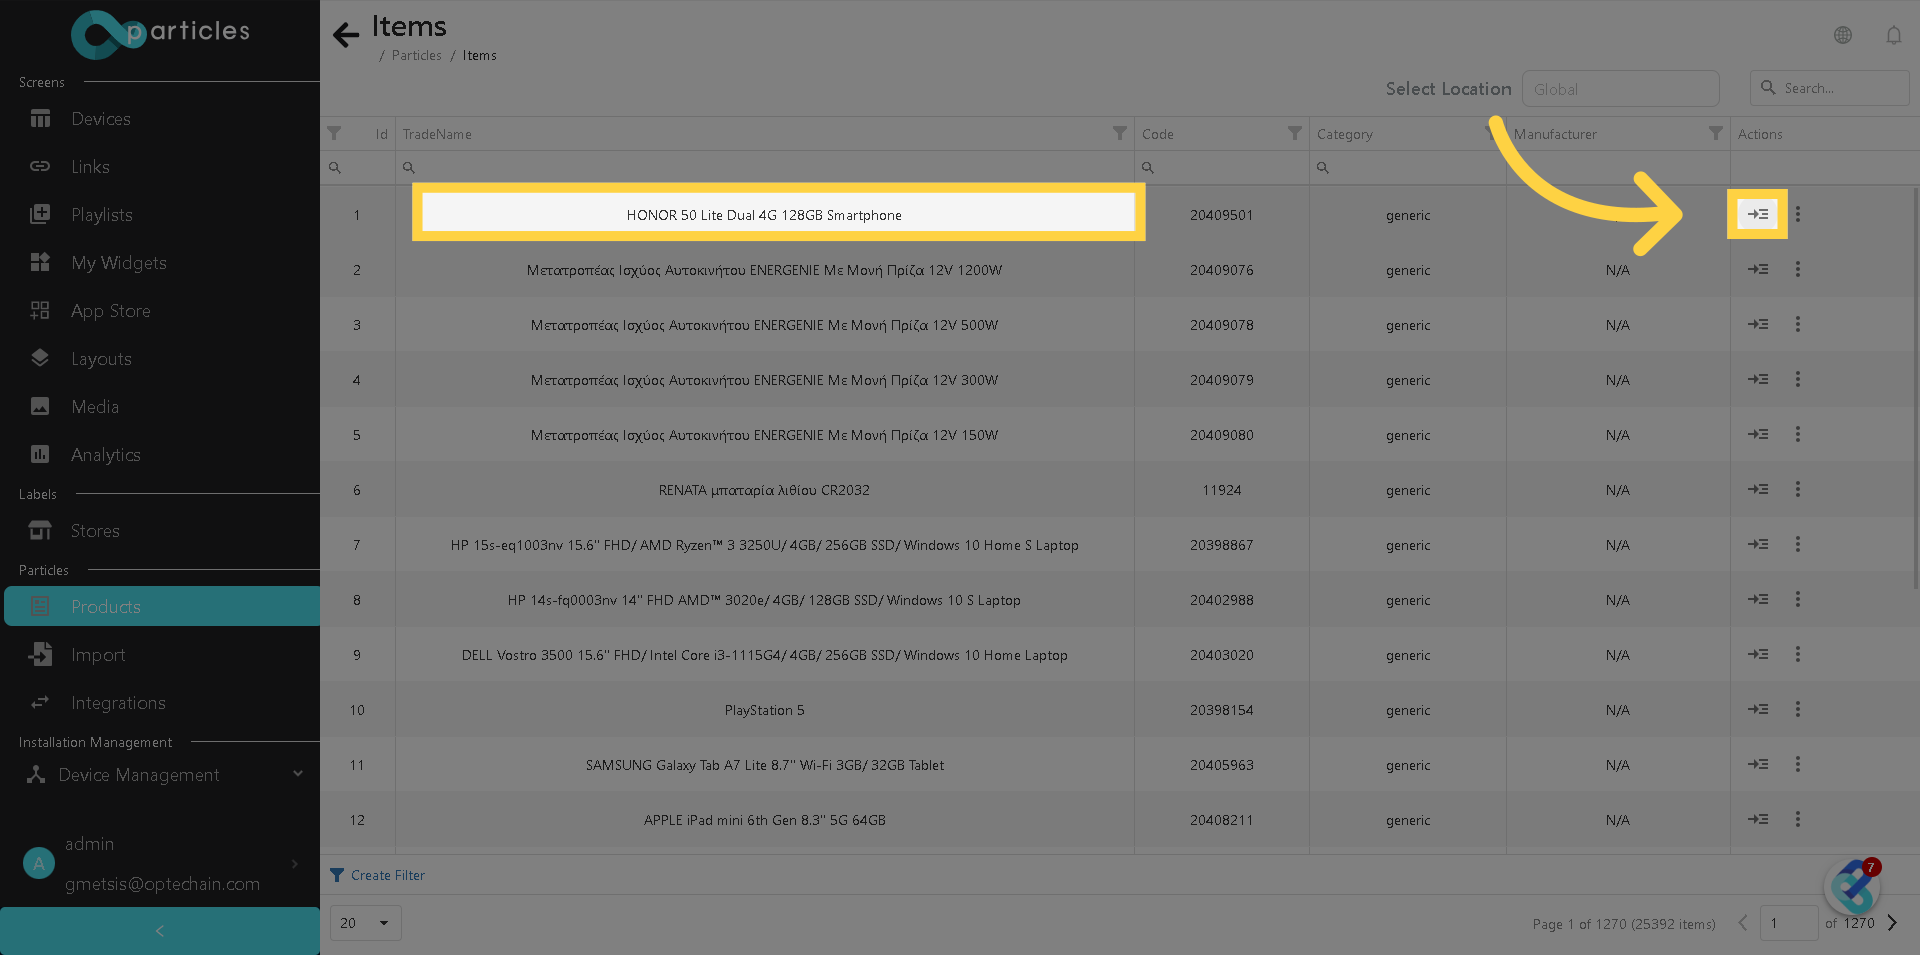
2. Select your Product
Next, identify the product you wish to edit. You can do this by either double-clicking on the product row or simply clicking on the 'Details' button.
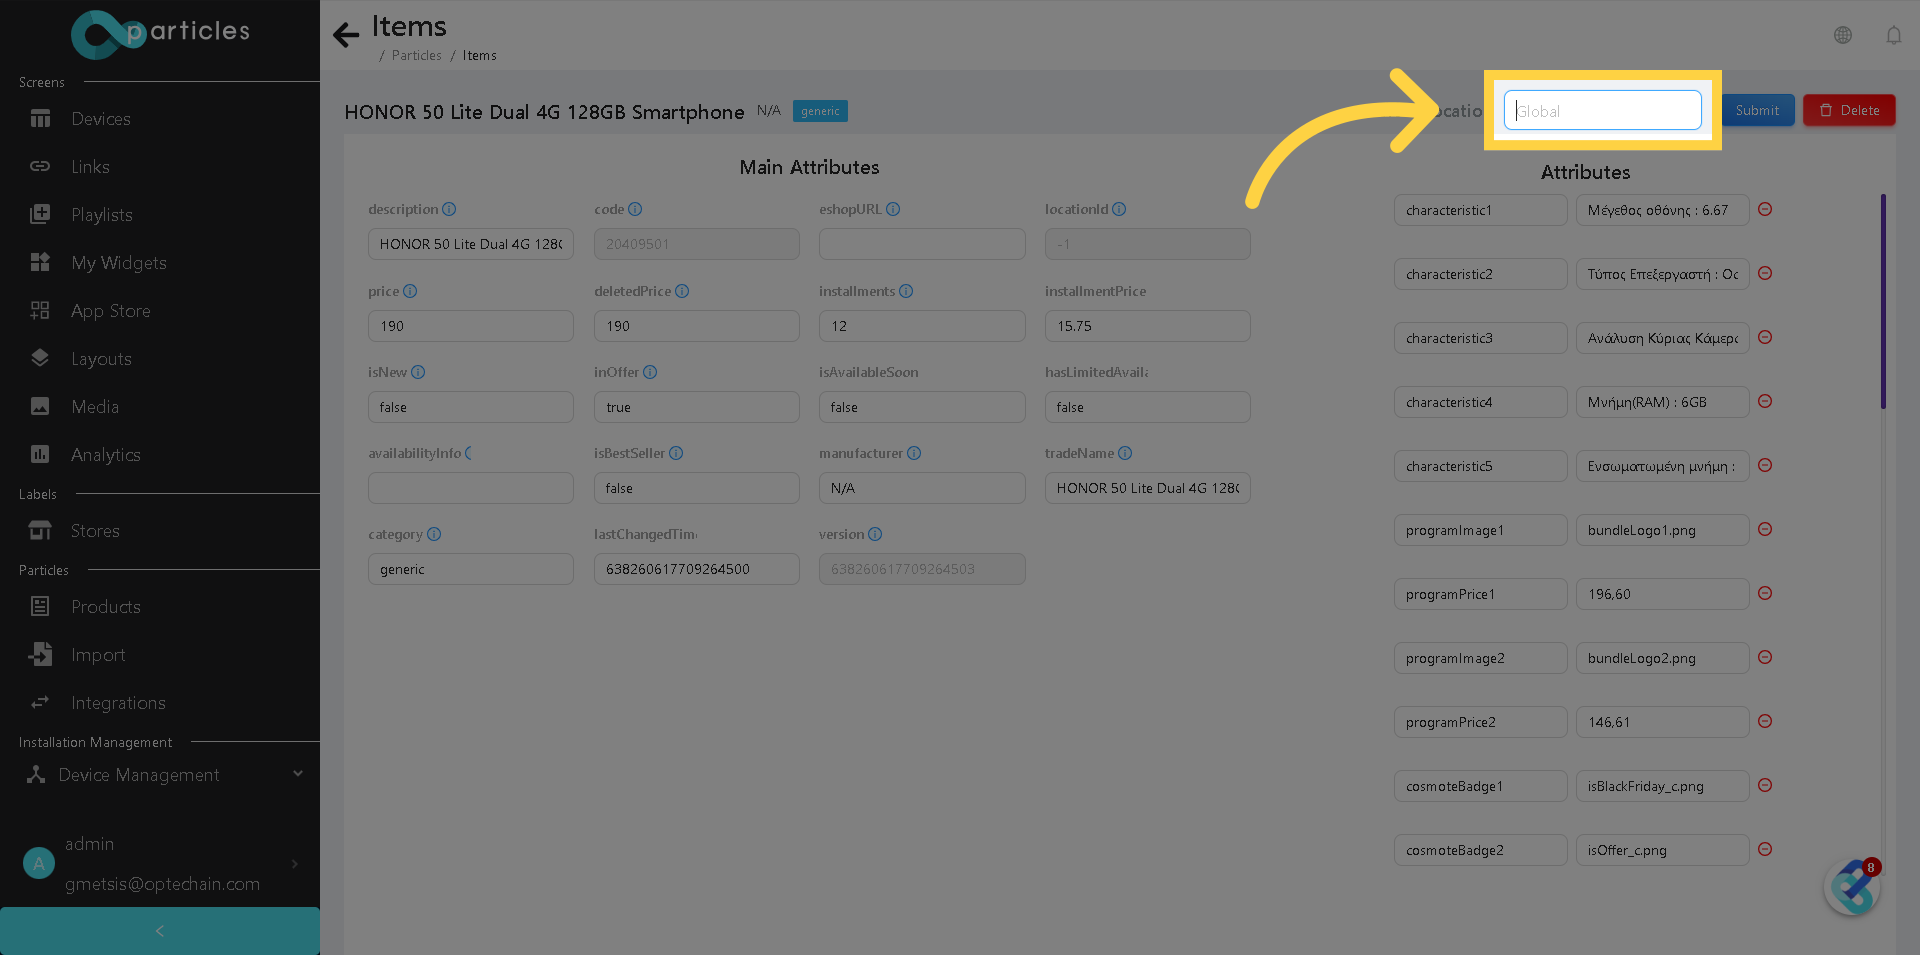
3. Select Location dropdown
Optehub offers the flexibility to manage various product details individually, allowing for precise and specific information updates.

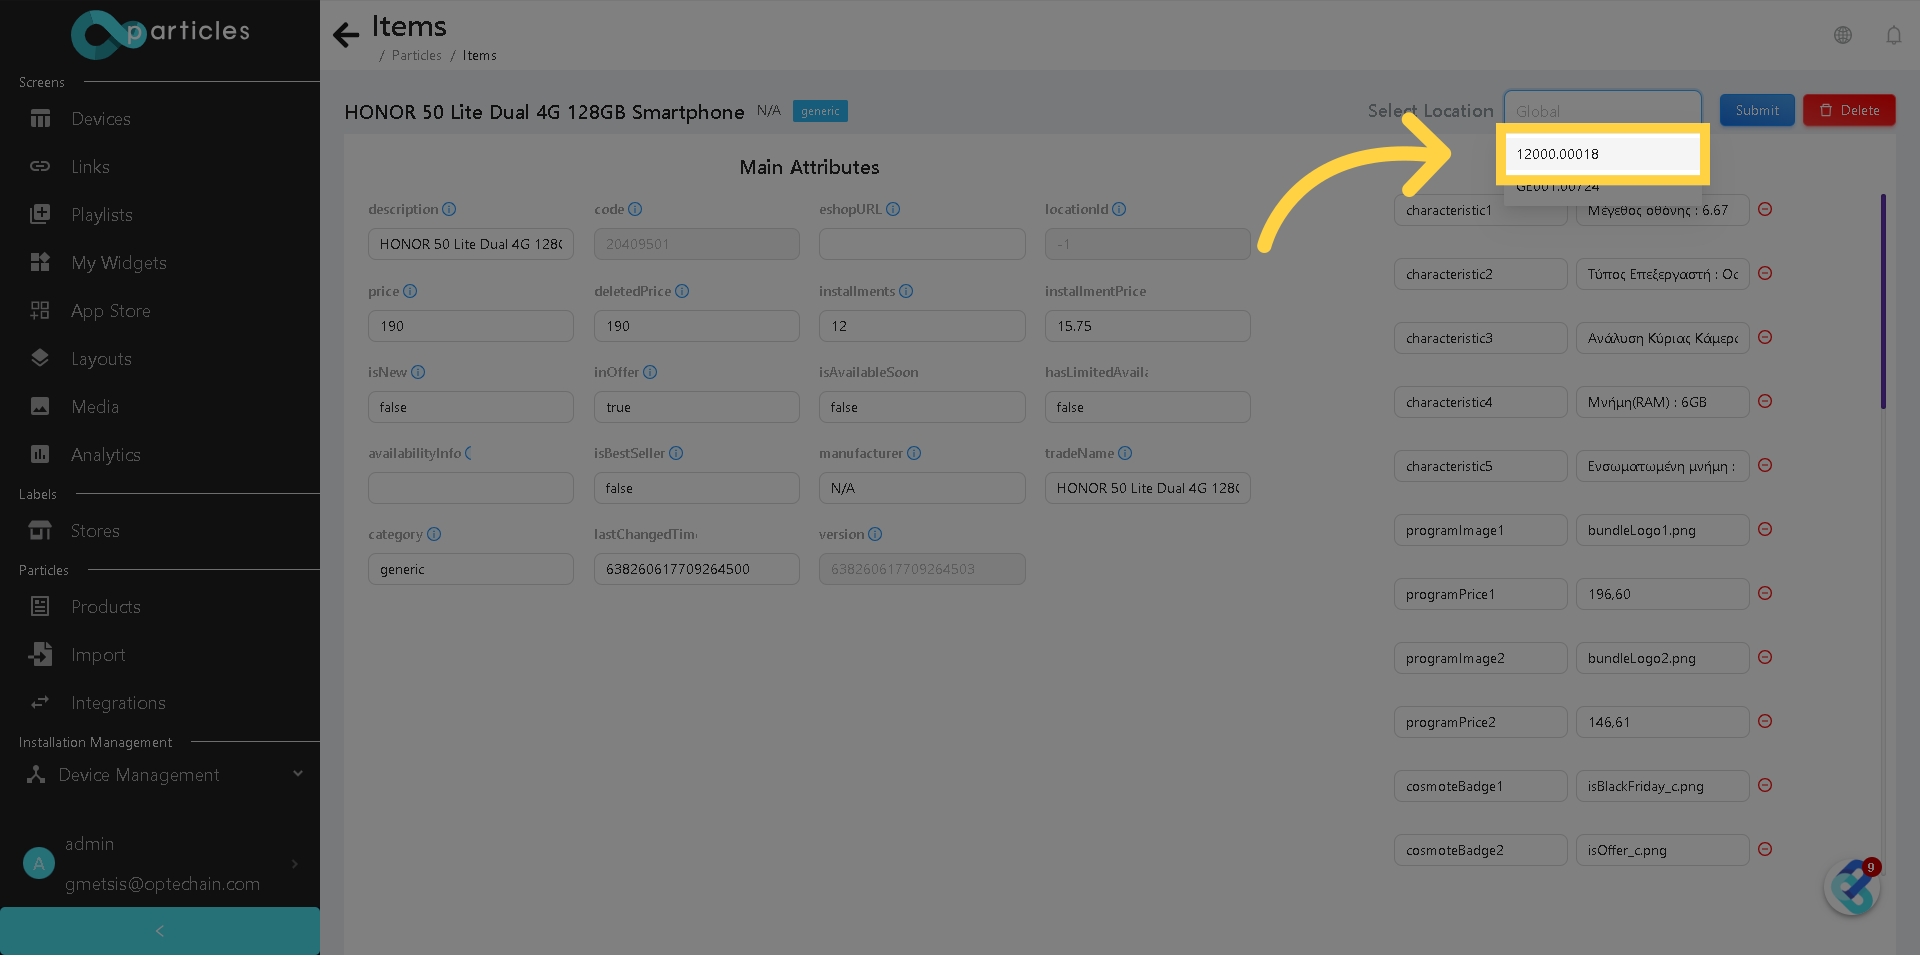
4. Apply changes to a Location
Additionally, Optehub provides the capability to tailor product information for specific locations. This means you can maintain a master product catalog that is utilized across your entire installation, while also having the freedom to modify details for individual locations as needed. This feature ensures both consistency and customization in your product management.
5. Select Location
Click on the specified item.
6. Select the price field
Let's dive in and switch up the price right here.
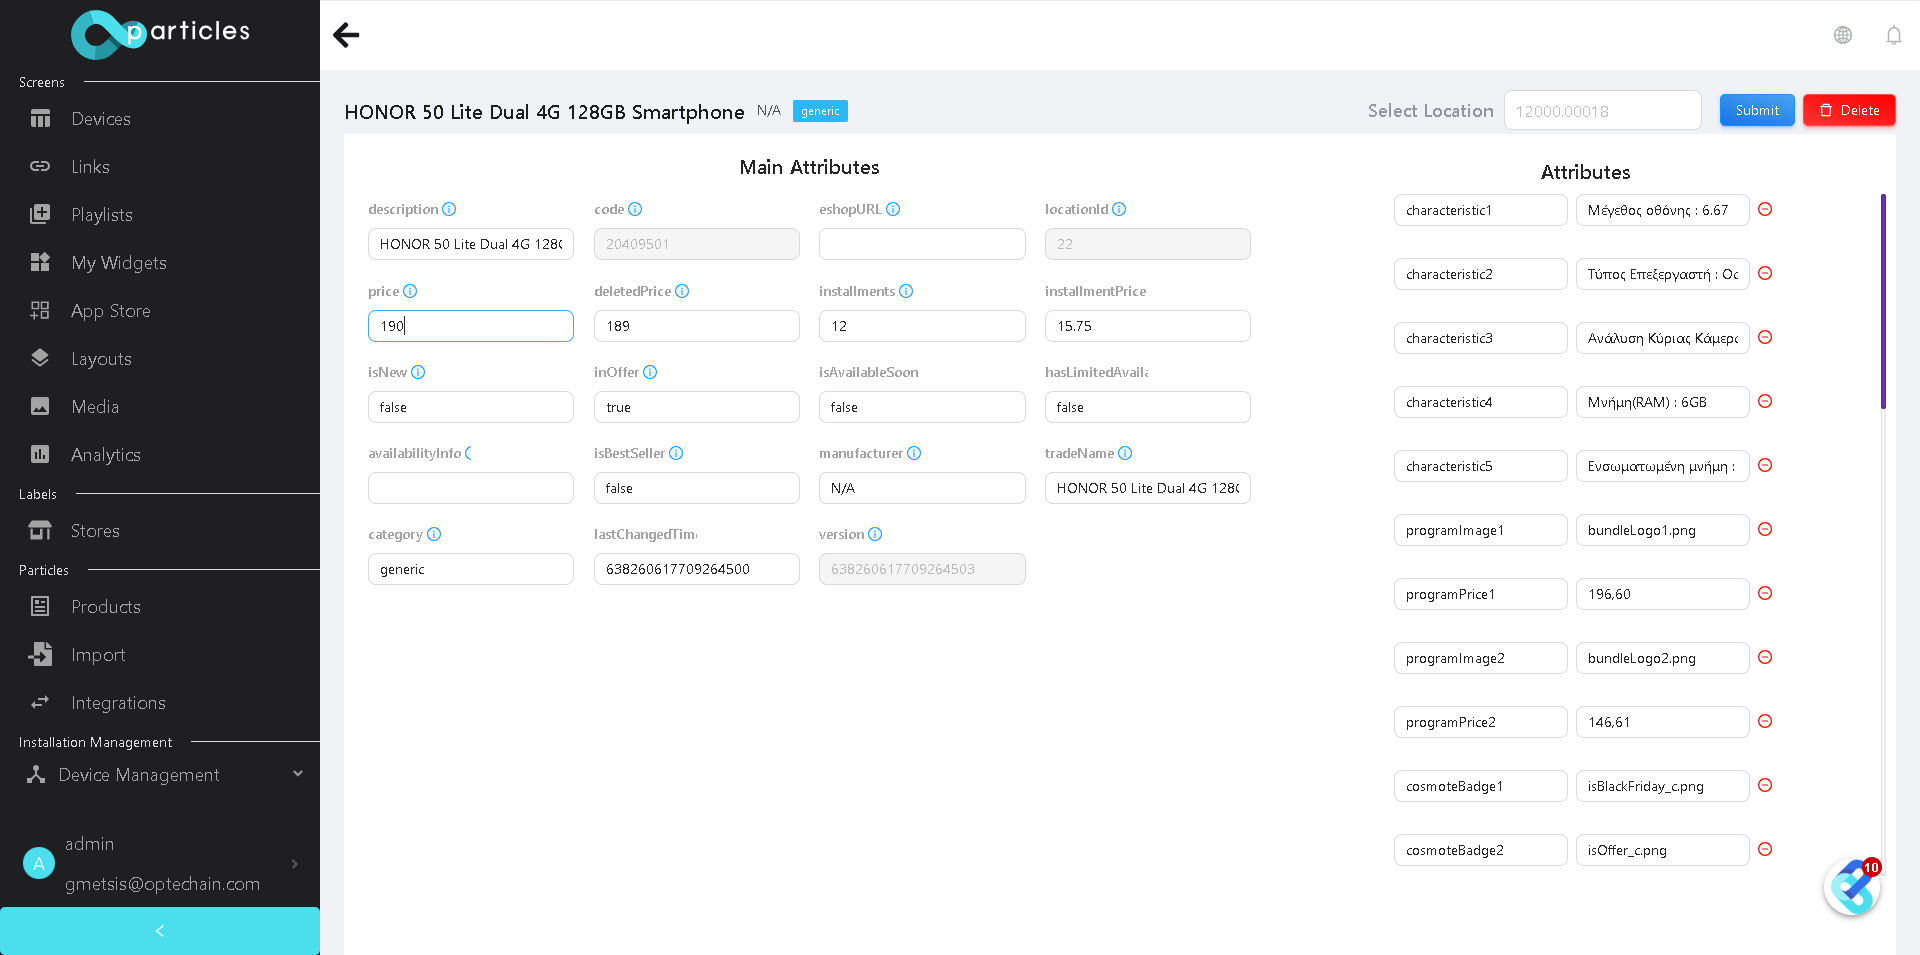
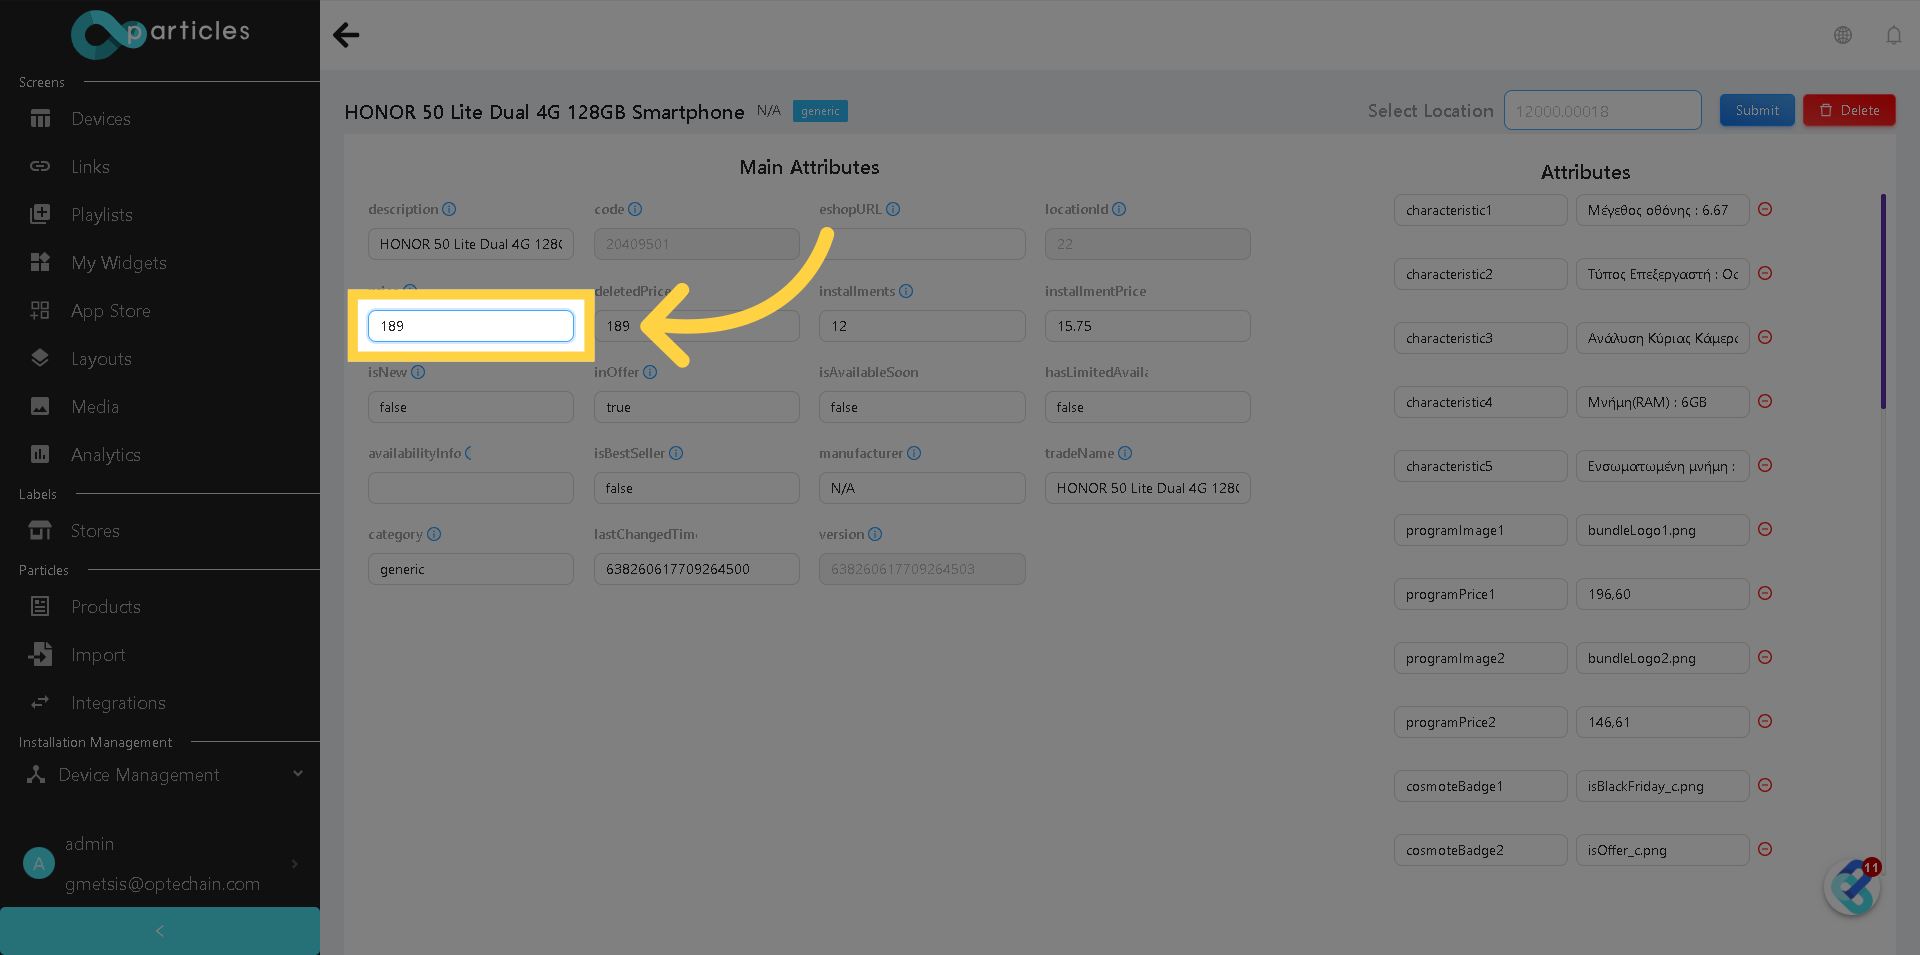
7. Change the price
Locate the price input field. Enter your desired price there.
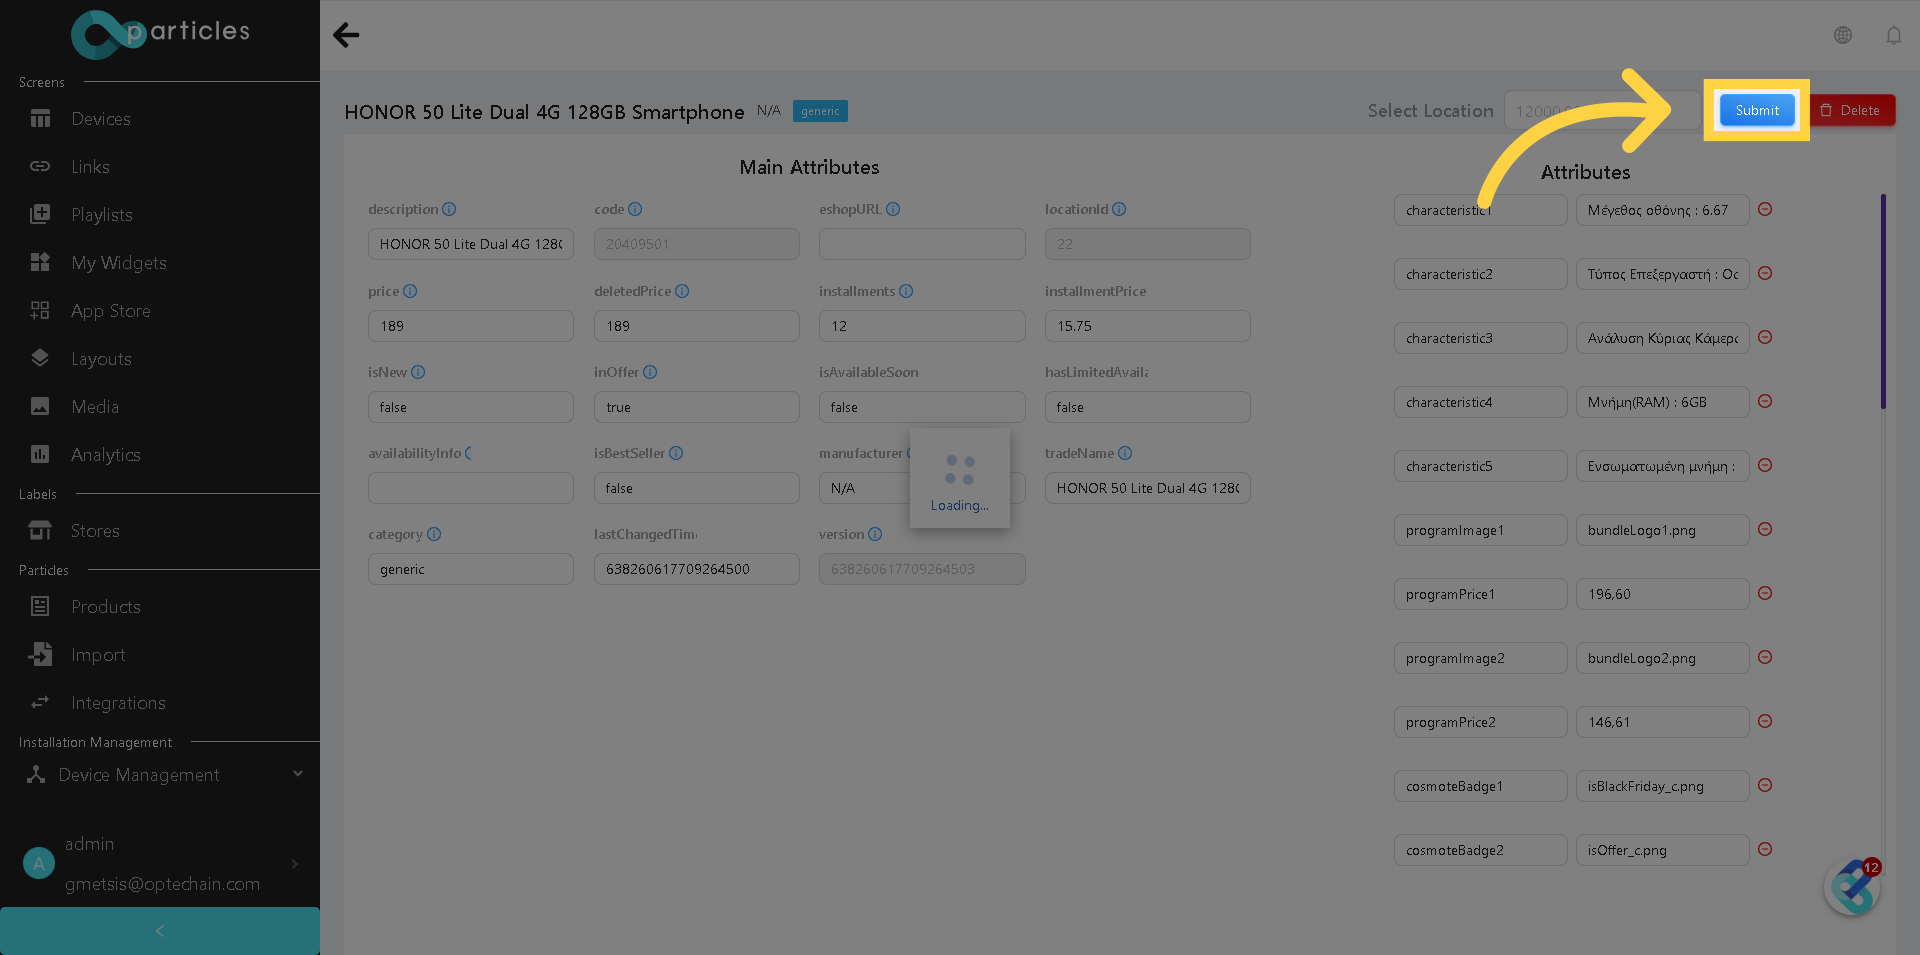
8. Submit your changes
It's time to finalize your changes. You can do this by clicking the Submit button, which you'll find in the top right corner.
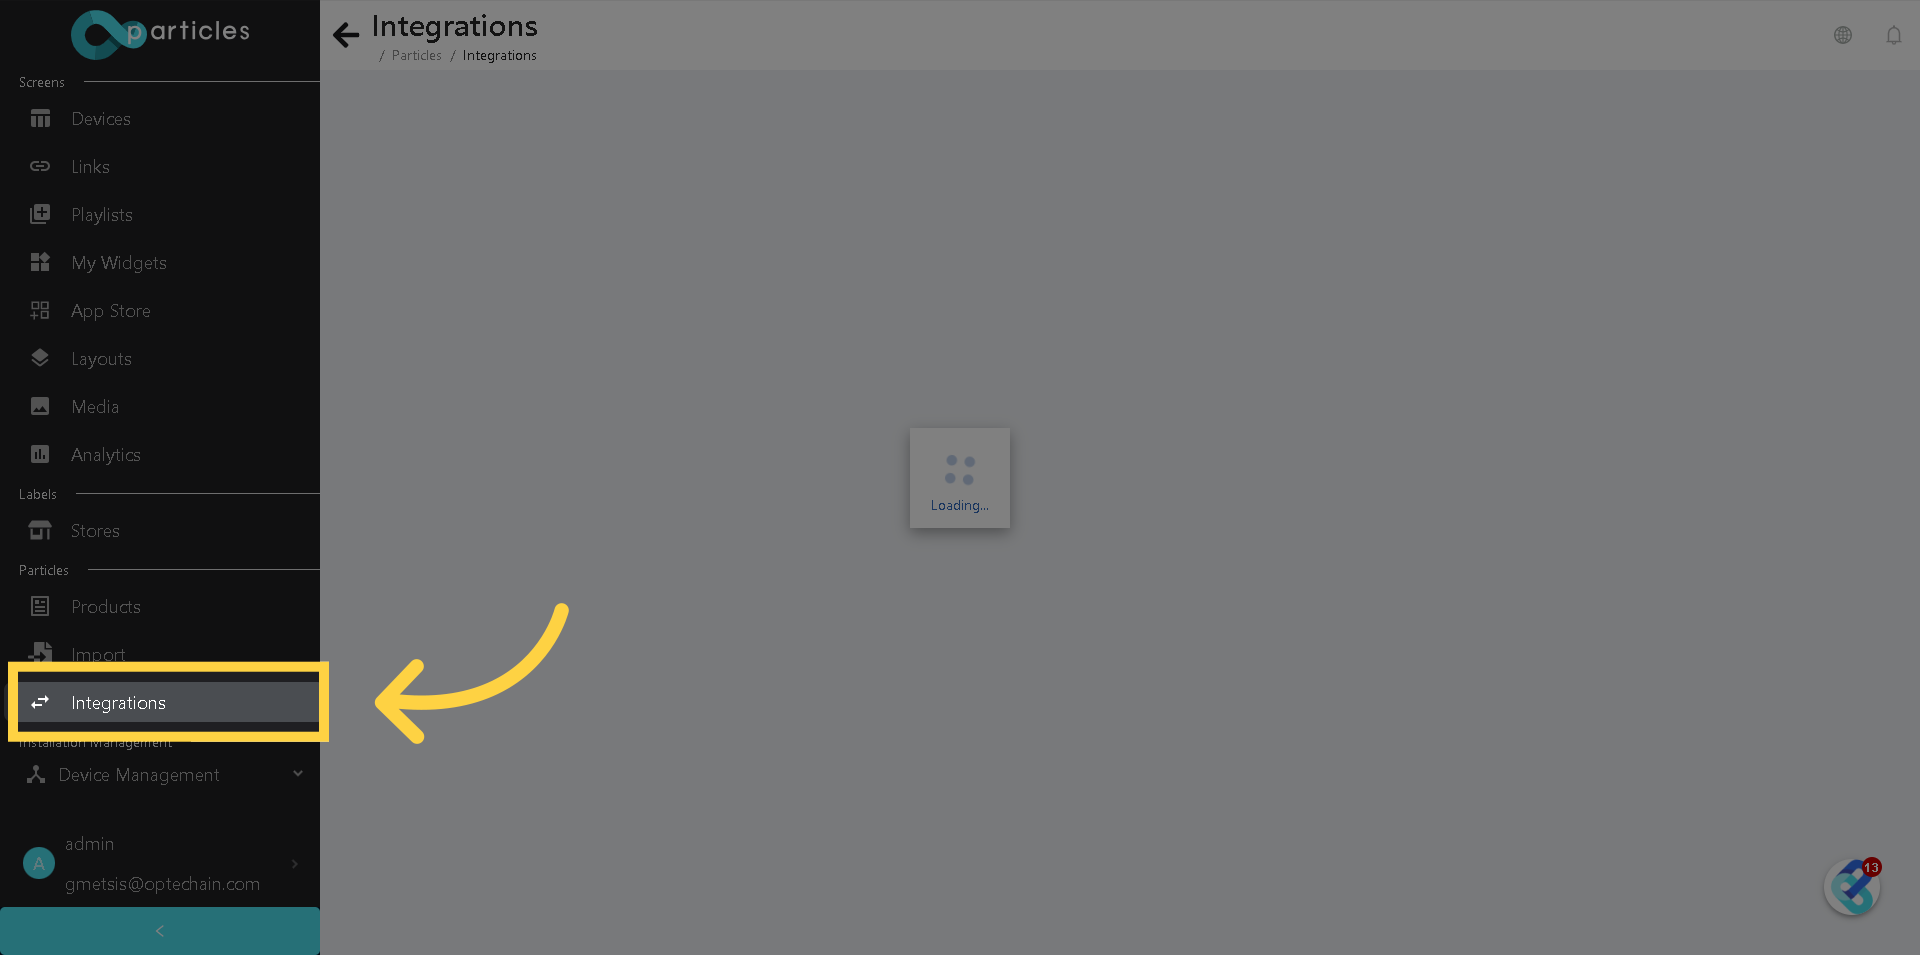
9. Select "Integrations"
To view the changes you've just made, navigate to the Integrations option. You'll find this on the sidebar located on the left side of your screen.
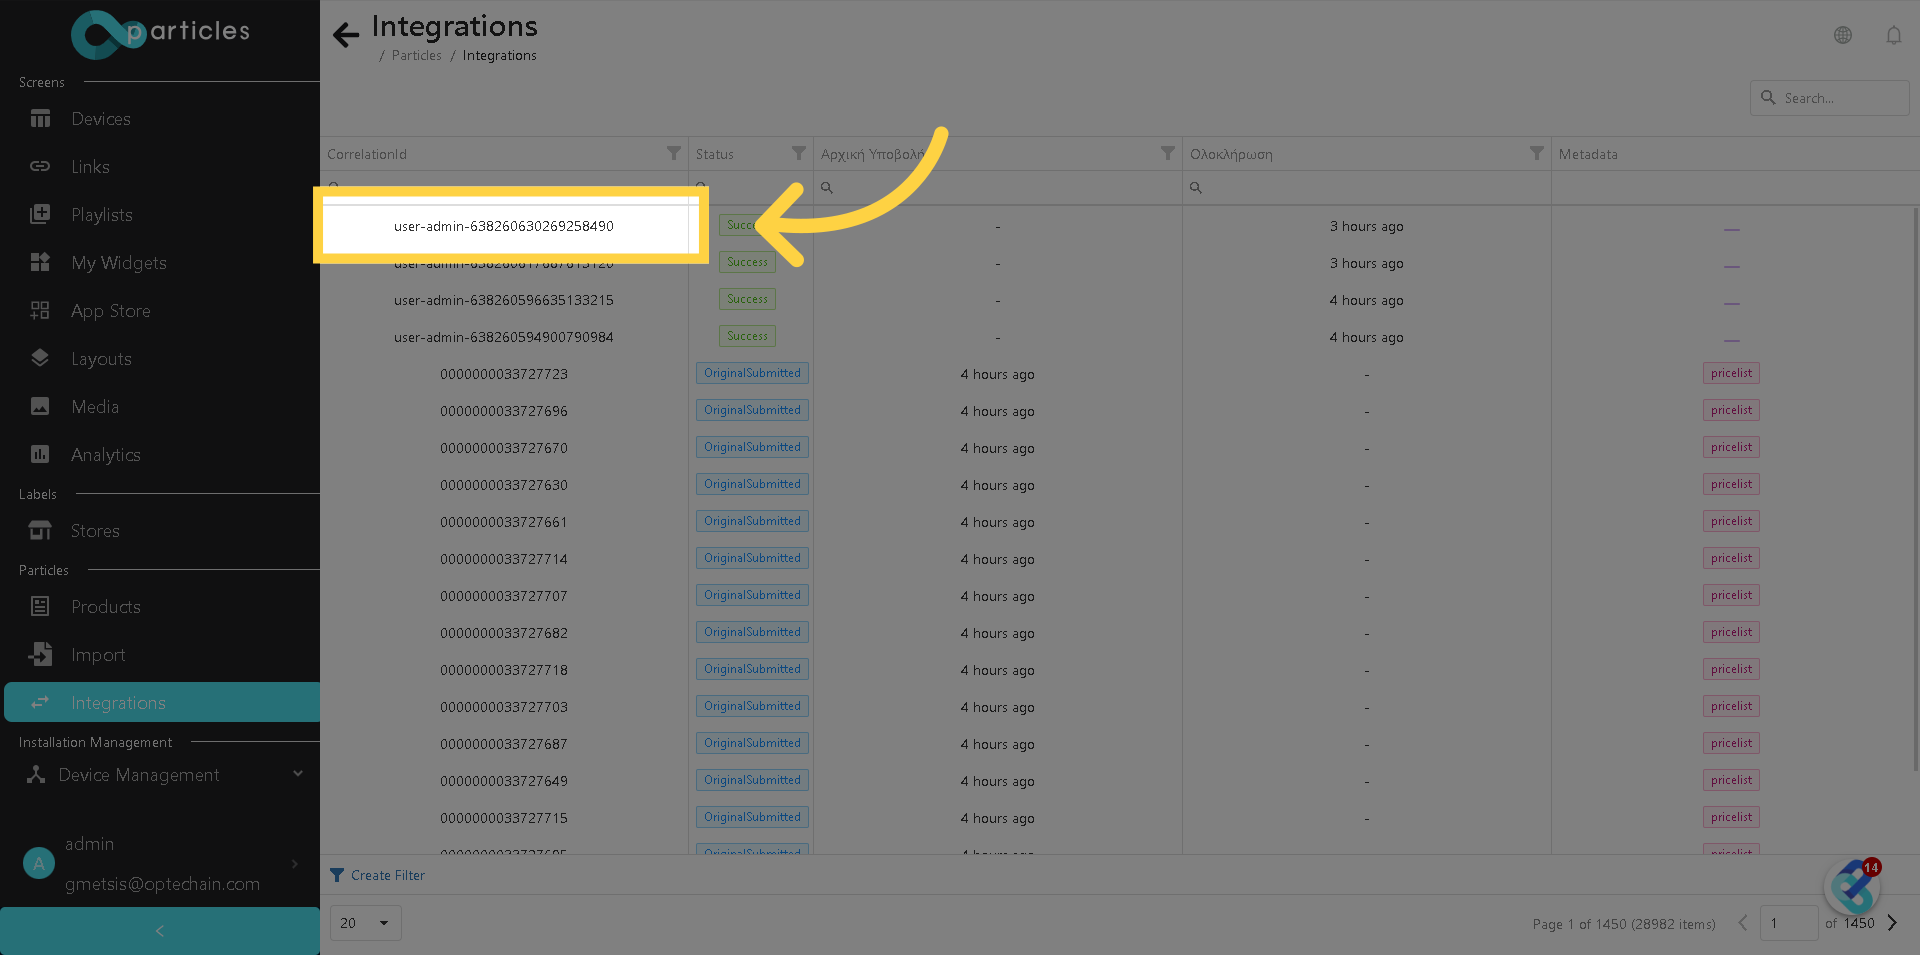
10. Select the last integration
Your most recent changes will appear as the latest integration. To access it, simply double-click on this entry.
And that's it! This guide covered how to access and editing a product in Optehub. Thank you for your attention, I hope to see you on the next one!